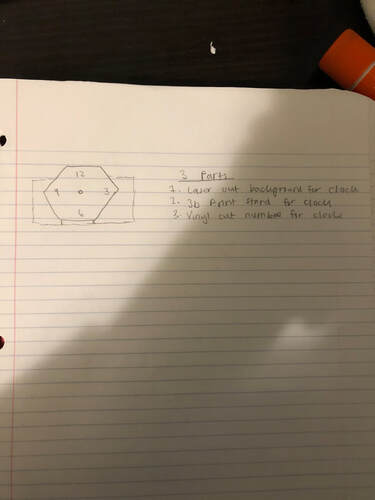
Pre-Sketches:
I planned on using the laser to make the background for the clock, the 3d printer to make a stand for the clock, and the vinyl cutter to make numbers for the clock.
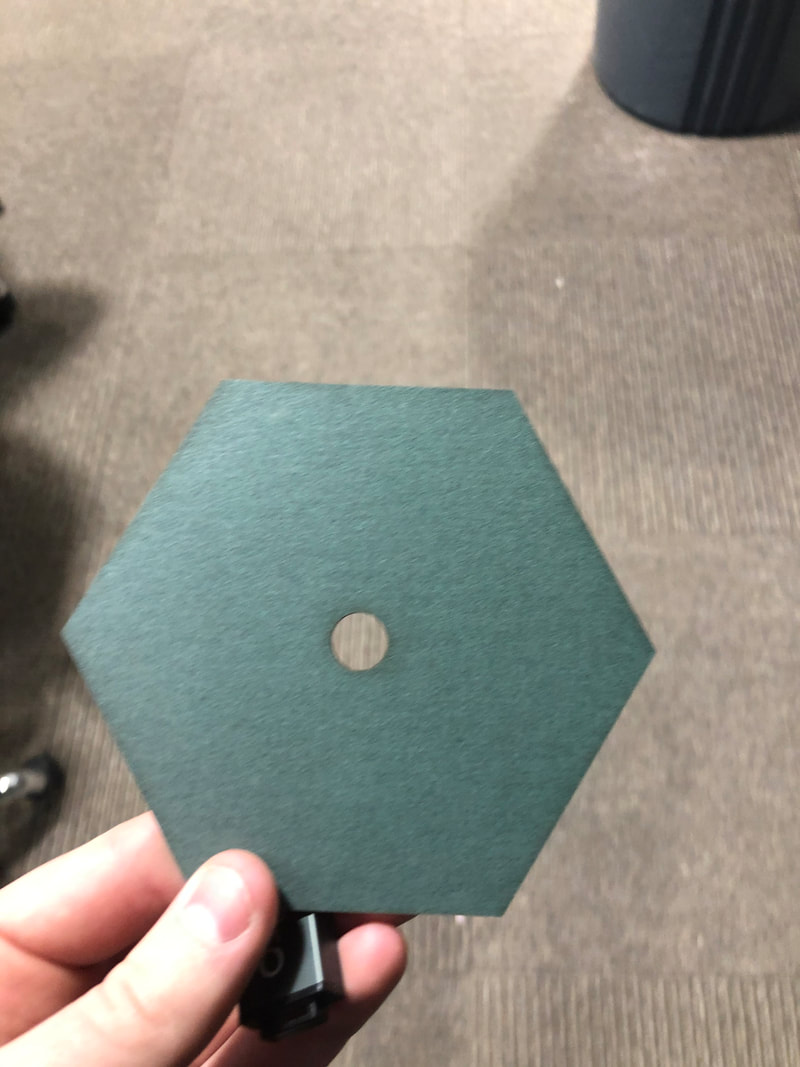
Using the laser:
I started with the laser. I cut out a hexagon.
Using the 3D Printer: |
|
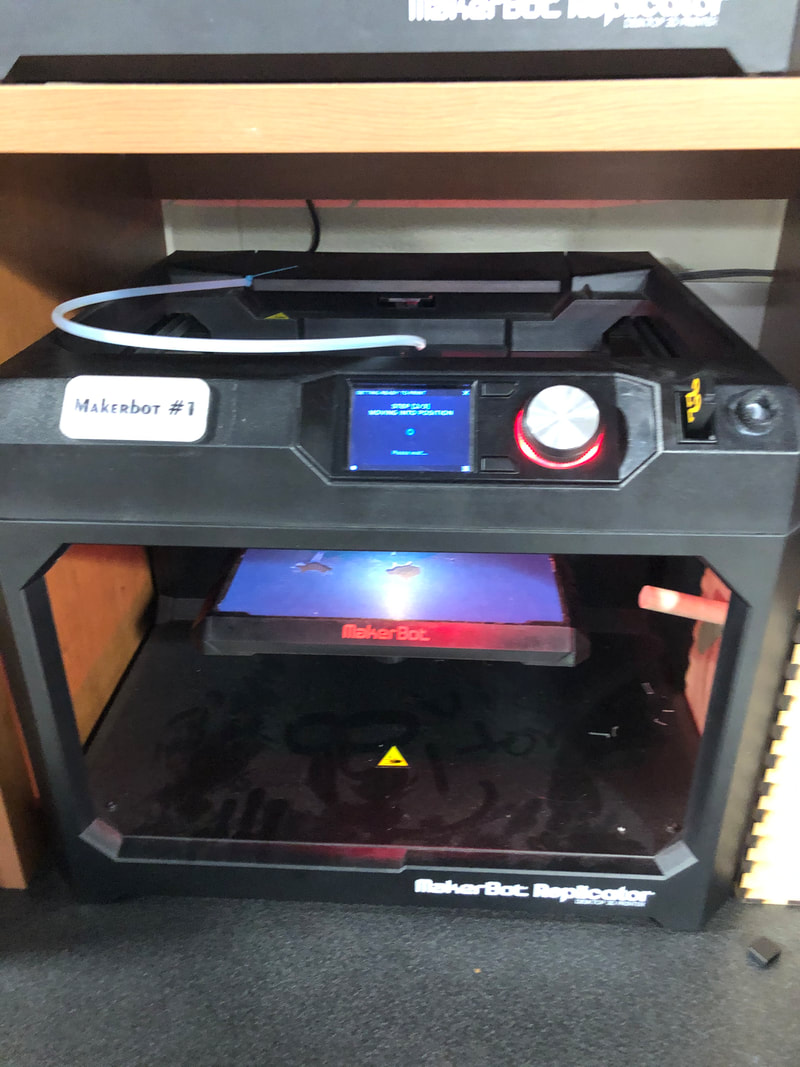
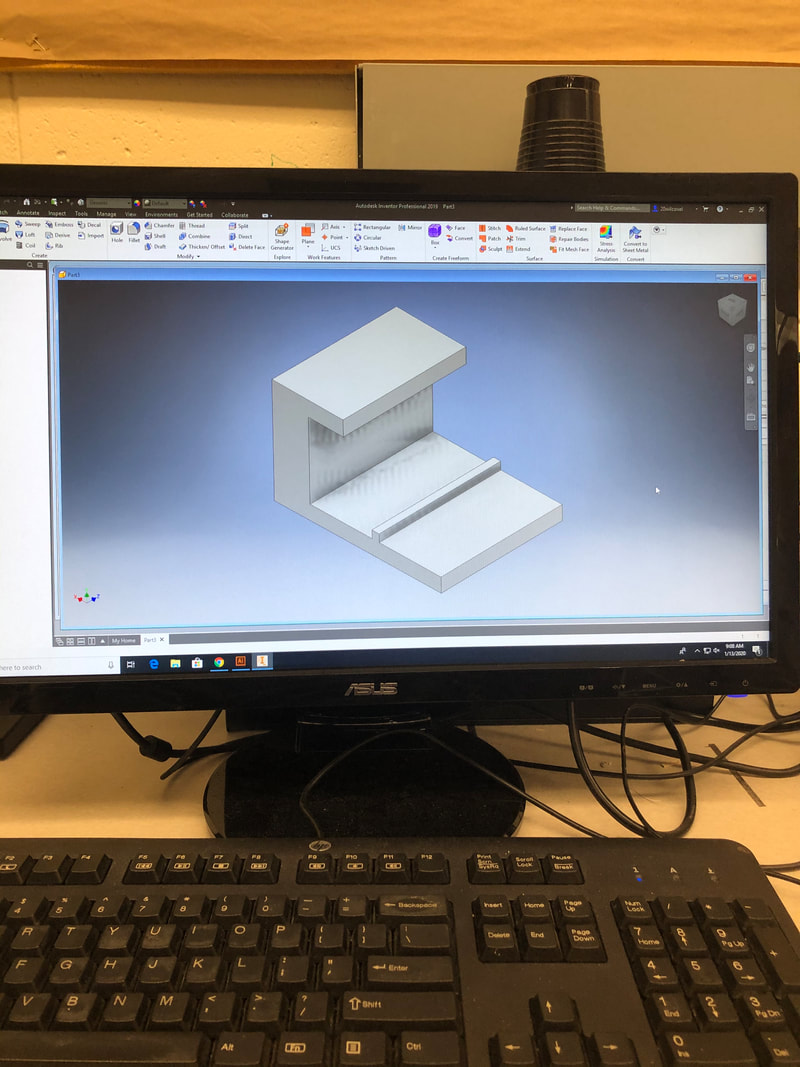
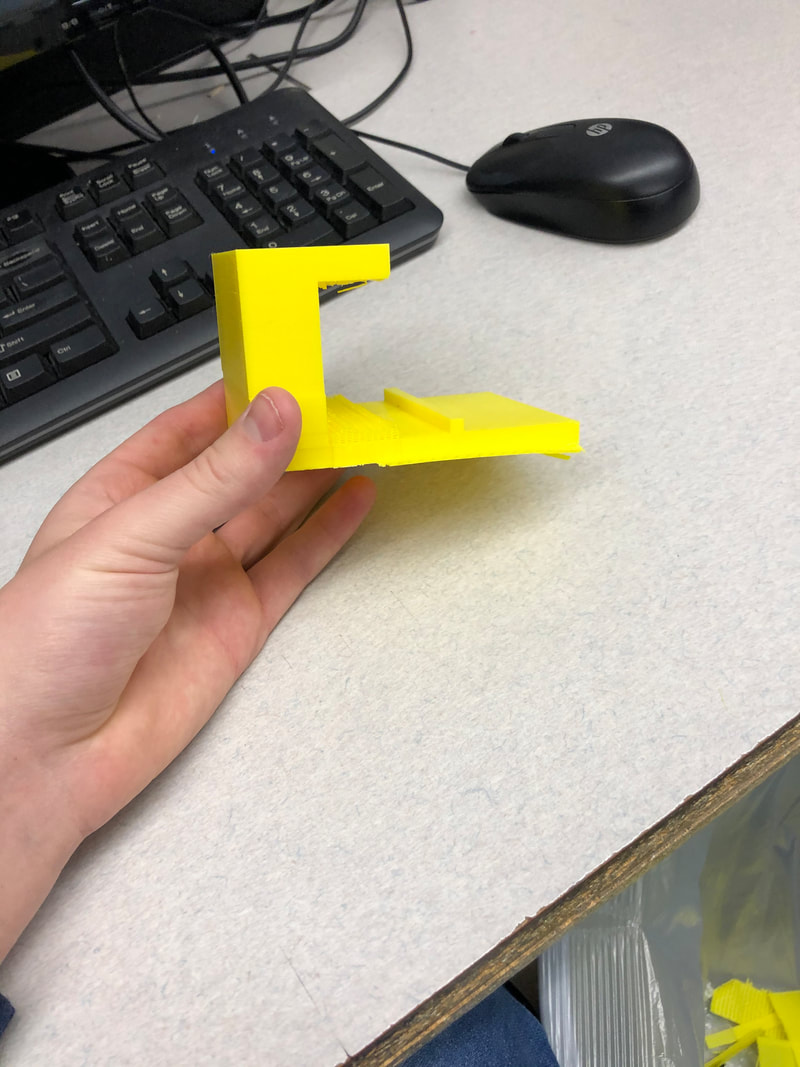
I used the 3D printer to make a stand. I started by making the file in Inventor. This wasn't too difficult since we have been using the program all year. I then loaded my file onto makerbot and put that file on my hard drive. I then printed the stand. It fit my clock perfectly, but I unfortunately was unable to located it on the final day. If you find it, let me know.
Using the Vinyl Cutter: |
|
|
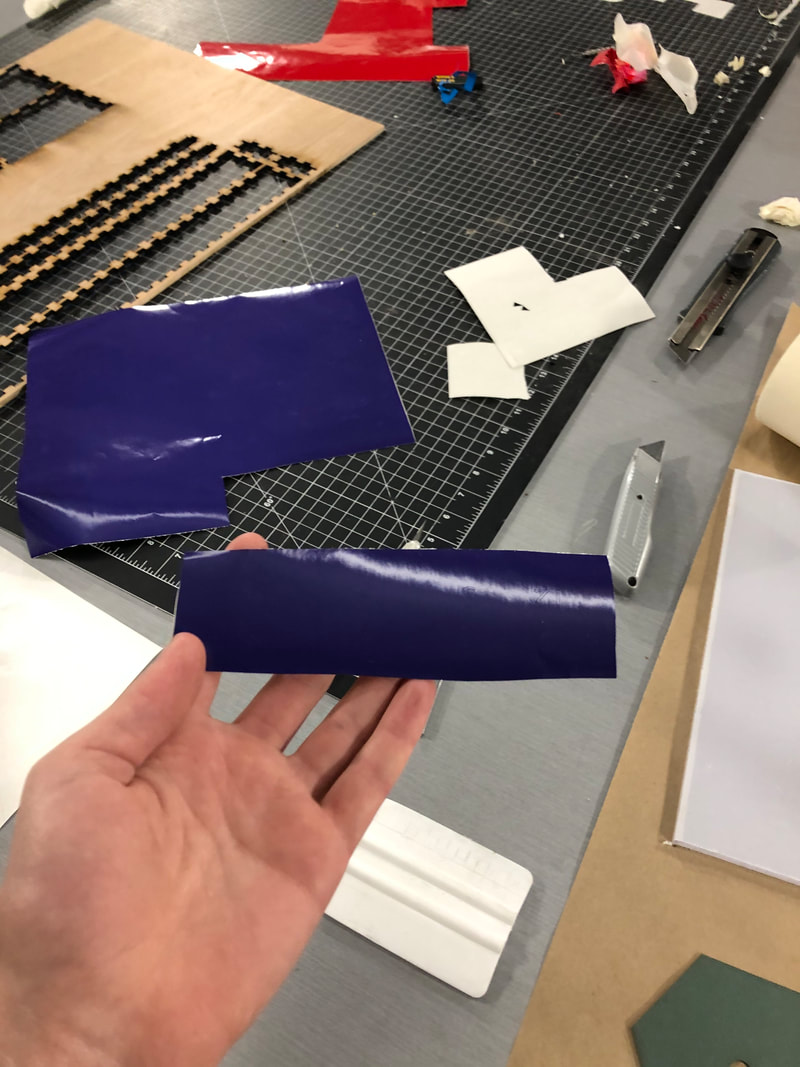
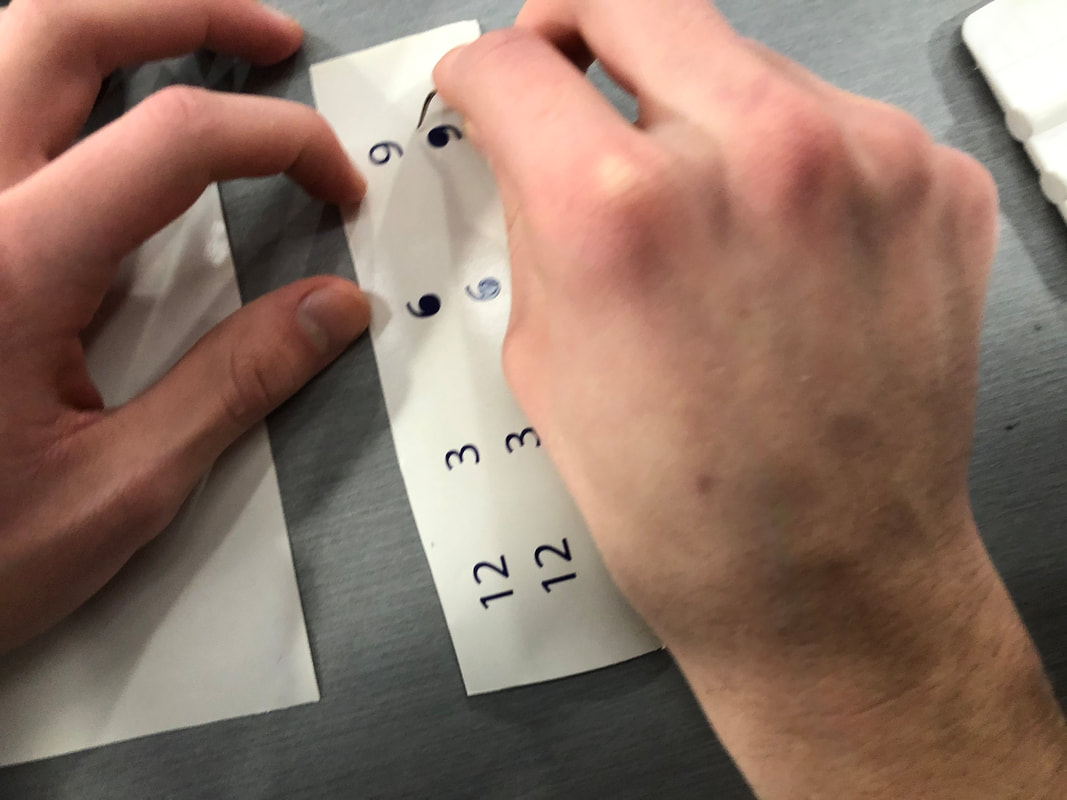
I then used the vinyl cutter to make the numbers for the clock. I started by making a file of the numbers in Illustrator. I then transferred this file onto my hard drive and took it to the vinyl cutter where I cut out the numbers. After, I used transfer tape to put the numbers onto my clock.
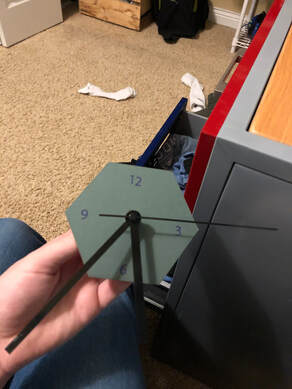
Final Product: |
|
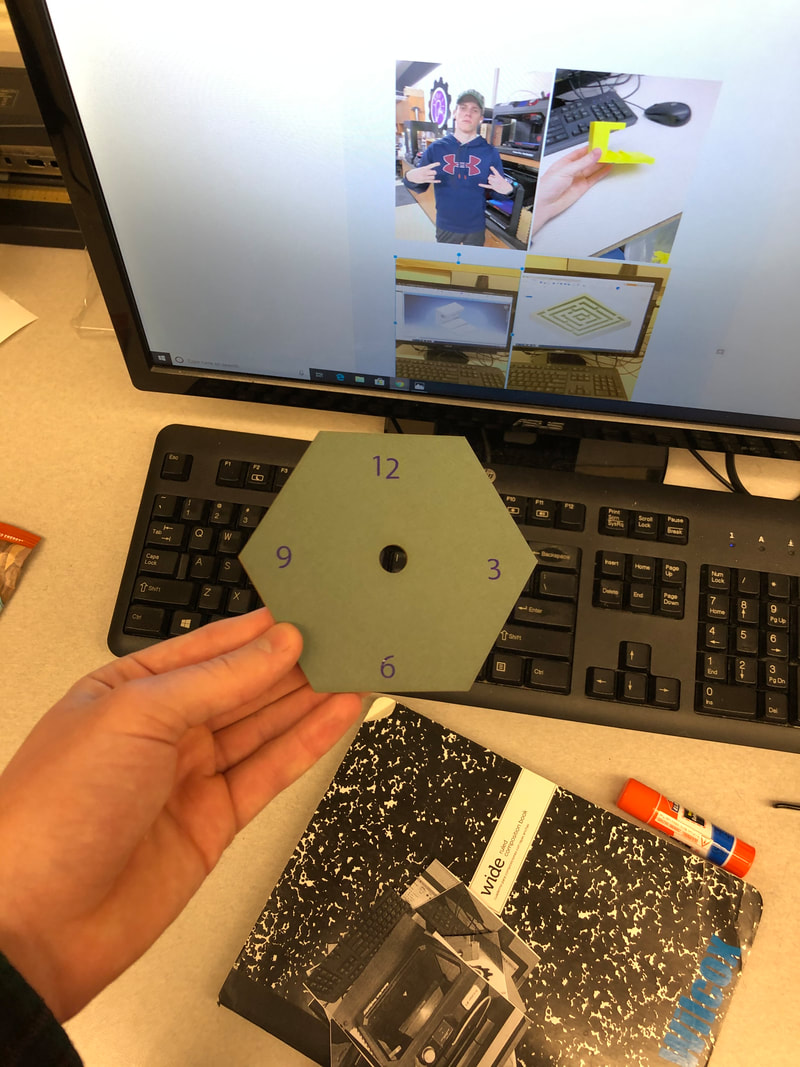
|
Here is my final product, minus the stand. Unfortunately the stand has been lost. I'm assuming it was put somewhere by one of the IDEA teachers, but Mrs. Proctor couldn't locate it. Again, if someone finds it let me know. The three machines I used are the laser, the 3D printer, and the vinyl cutter.
What I learned:
During this process, I learned how to use several machines to make a final product. This required the use of all the programs I have learned during the semester. Mrs. Proctor taught us how to use these programs and machines with previous projects, so this final project wasn't that bad. I really enjoyed this class, and I hope I can do similar projects in the future. Thanks, Mrs. Proctor!
