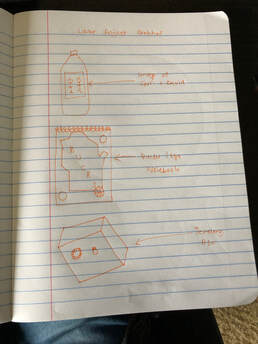
Pre-Sketches:
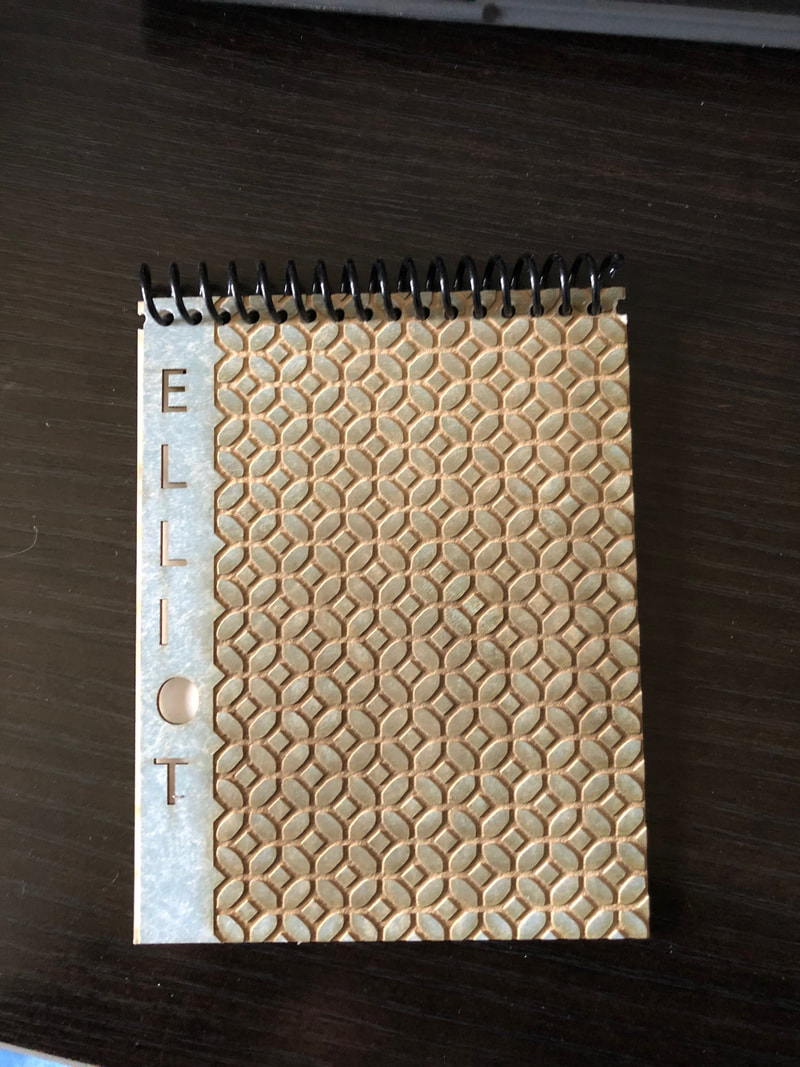
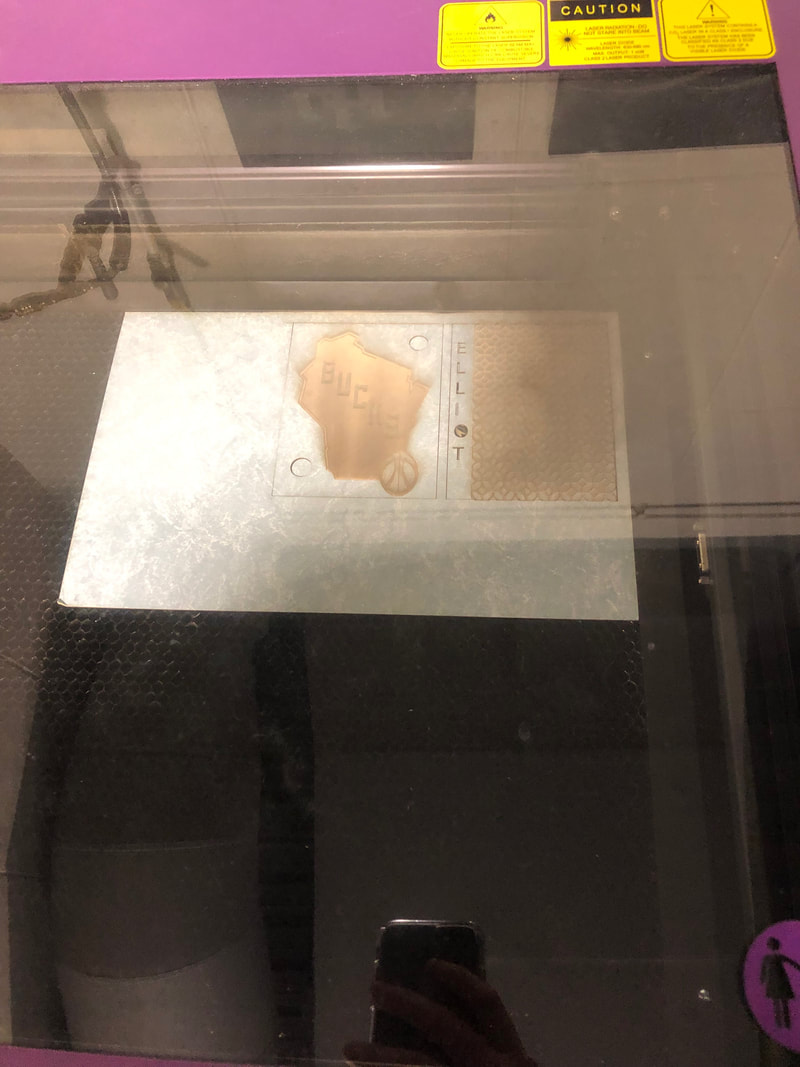
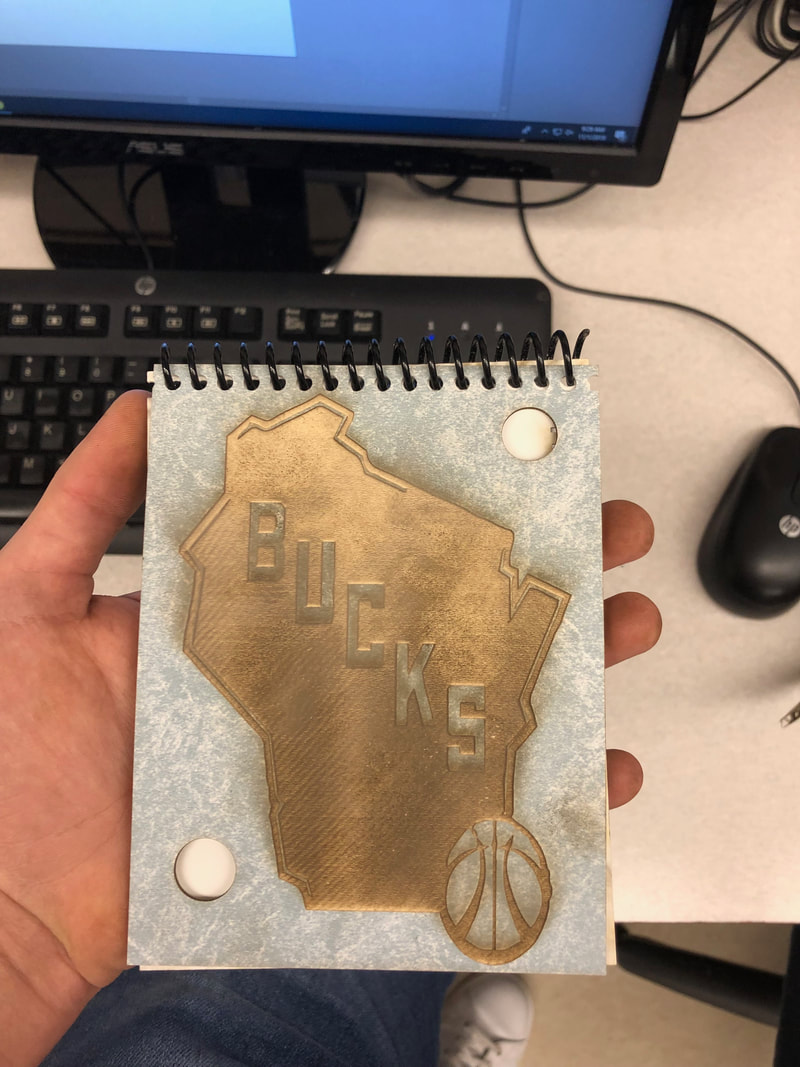
Creation of the Notebook:
I began by drawing my design up in illustrator. On the front, I engraved a bucks logo and cut out a couple of circles. On the back, I engraved a cool pattern and cut out my name. Once I finished my design I picked out my matte board. I took my matte board over to the laser to engrave/cut out my notebook design. After loading it up onto the UCP software, I hit play and watched the laser process. Once the laser process finished I created my personal notebook. I now have a notebook that I can use to take notes with in my classes. Maybe I can use it as an assignment notebook so that I can remember to turn in my IDEA websites on time...

|
|
|
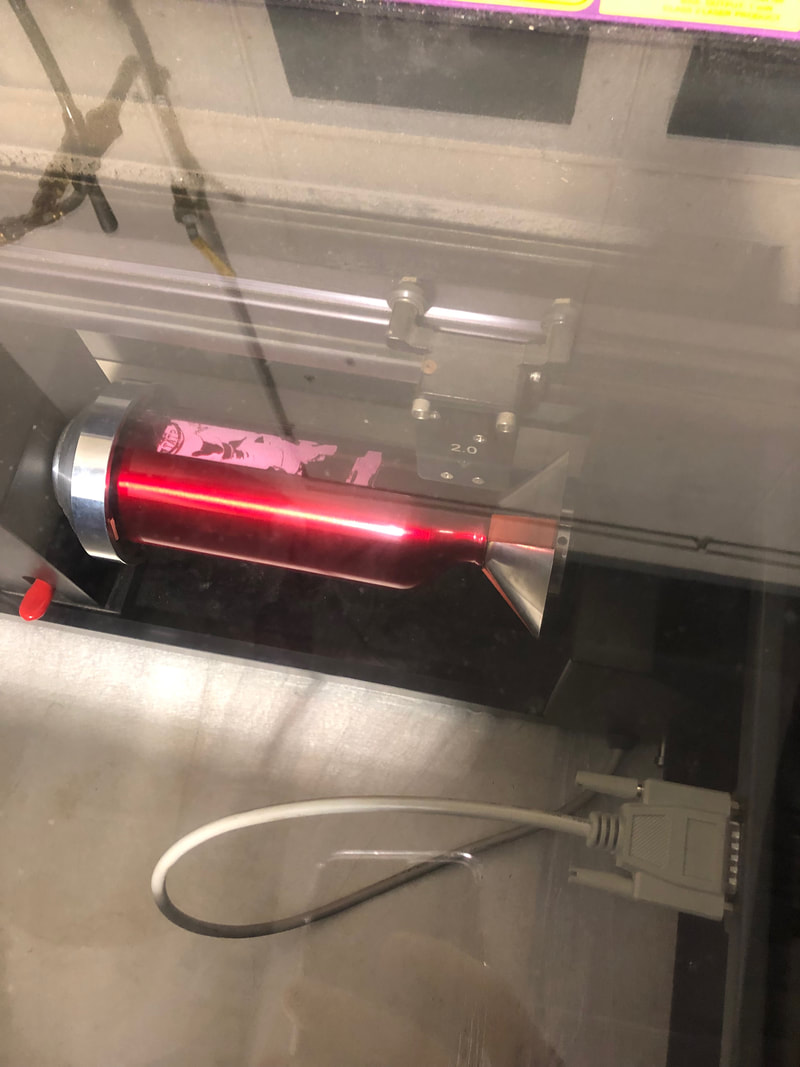
Creation of the Water Bottle
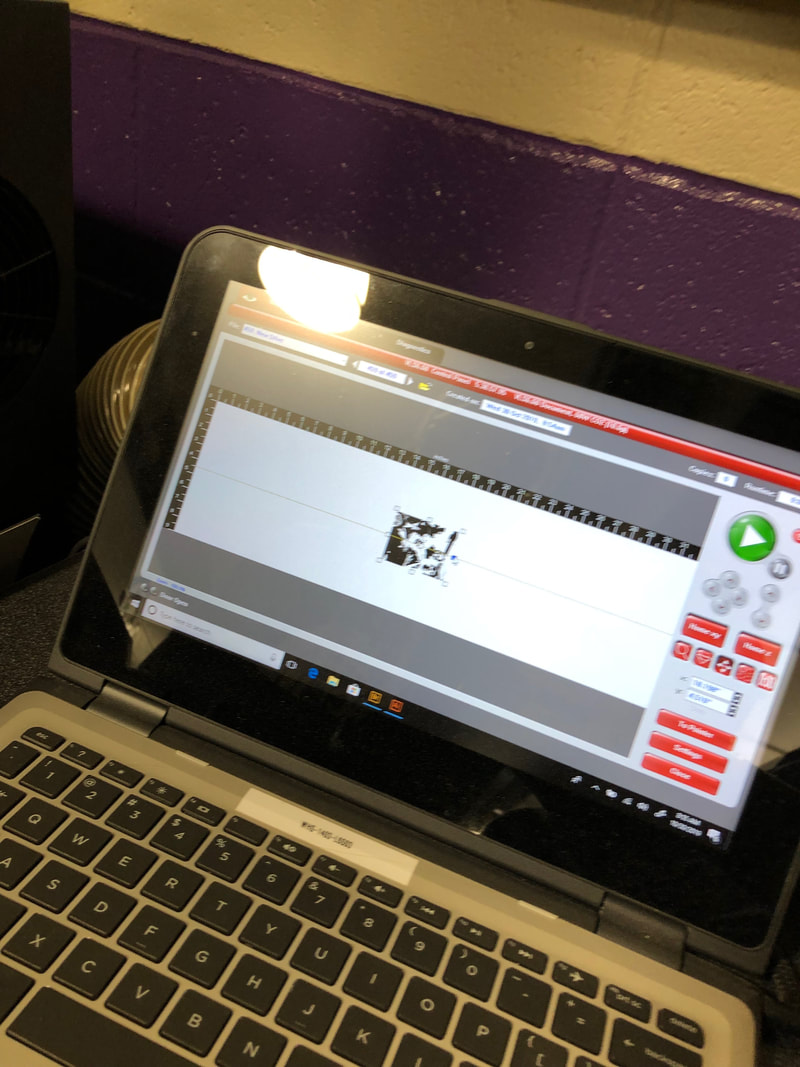
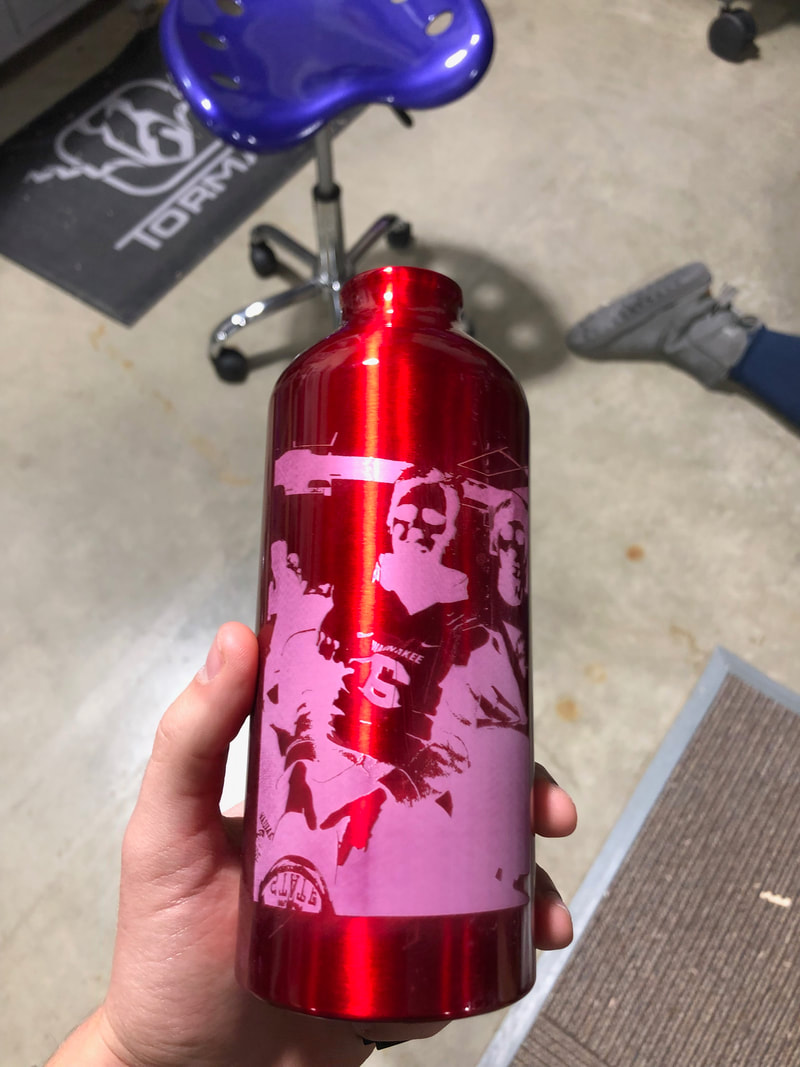
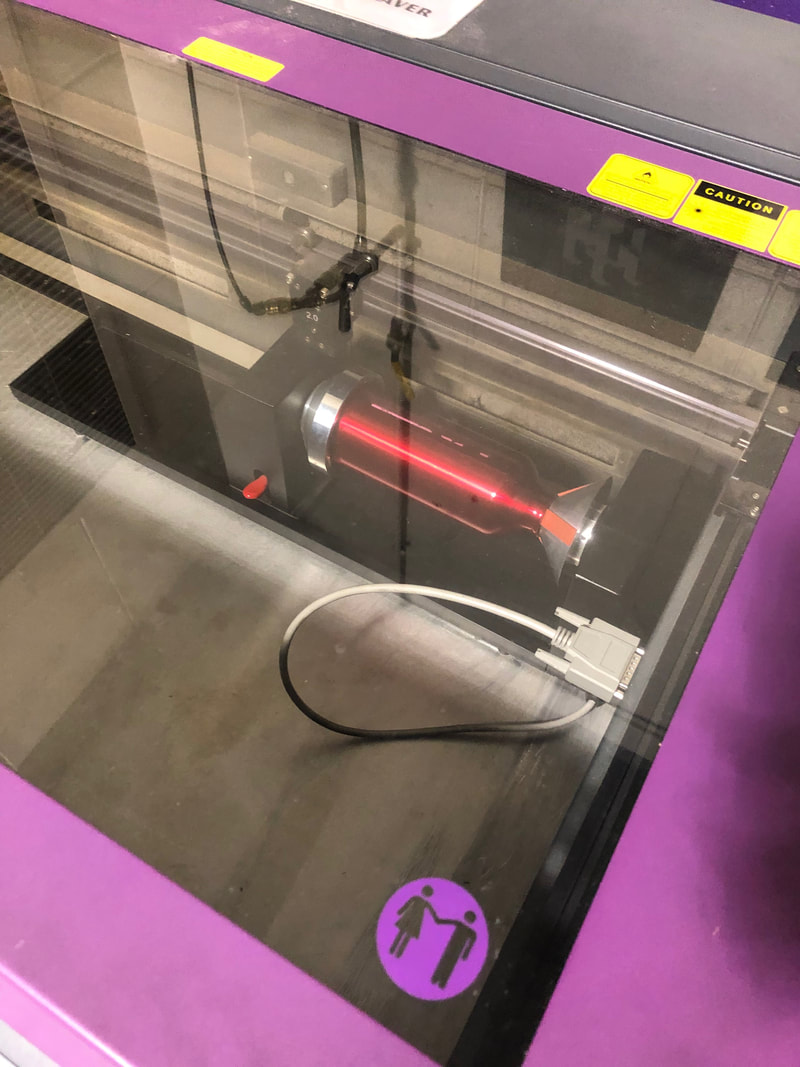
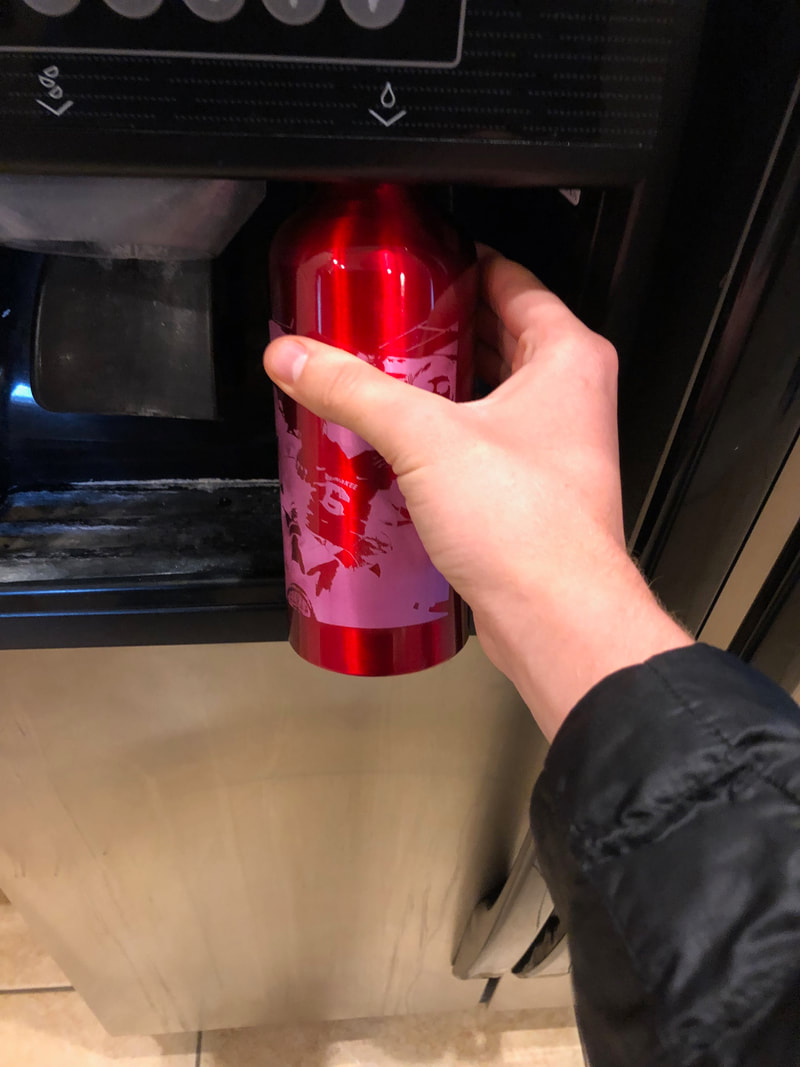
I started by creating my design on Illustrator. I chose to engrave a picture of David and Sam on my water bottle. Once I created the design it was time to engrave. I loaded my file onto the UCP software and hit start. I then watched as the laser engraved my design. I now have a water bottle that I can bring with me everywhere. It functions great!
|
|
|
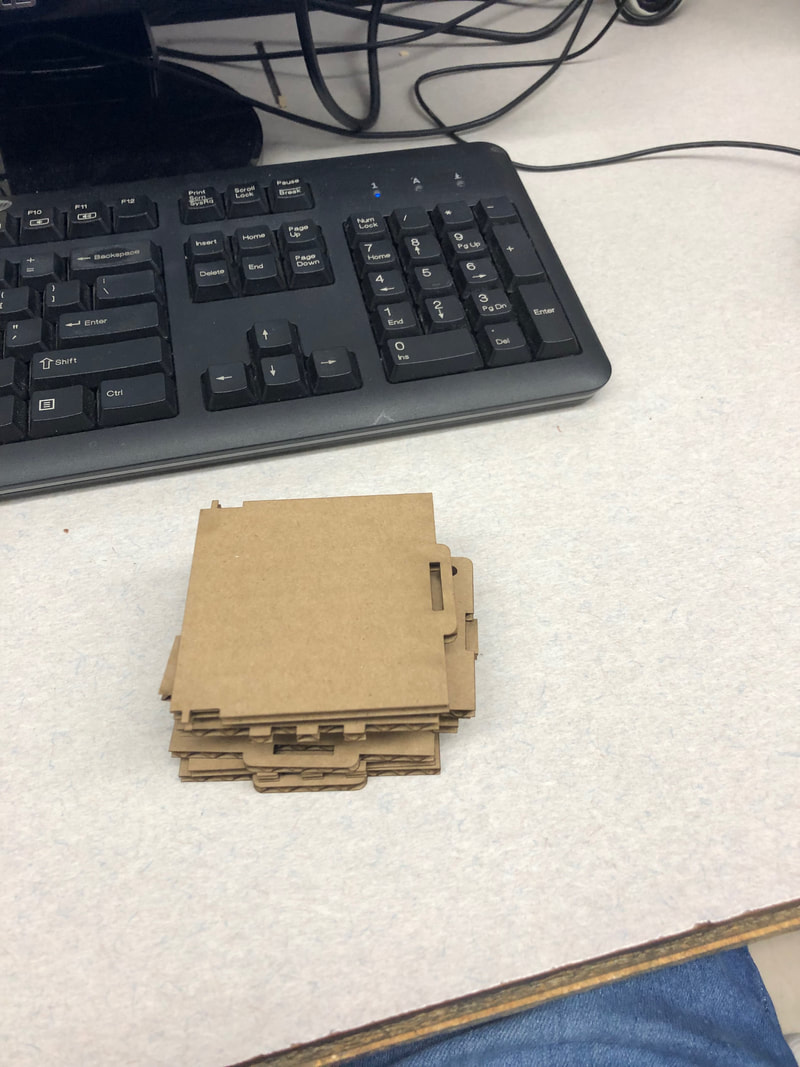
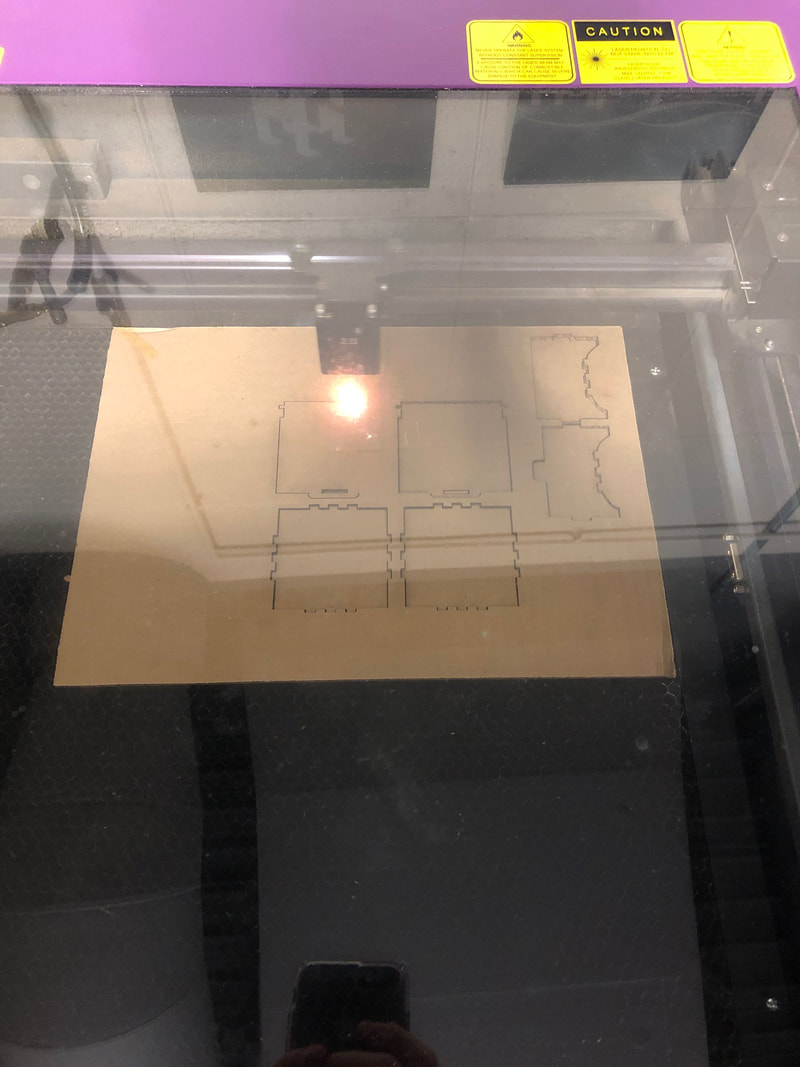
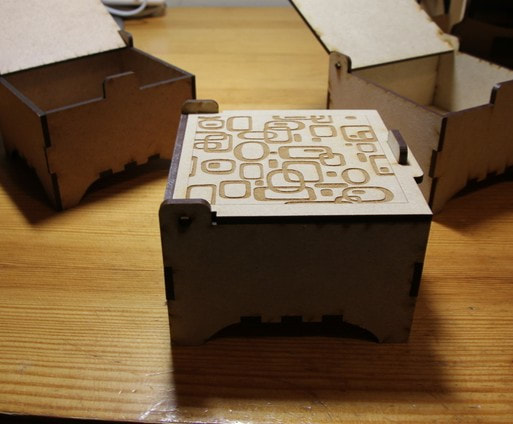
Creation of the Jewelry Holder:
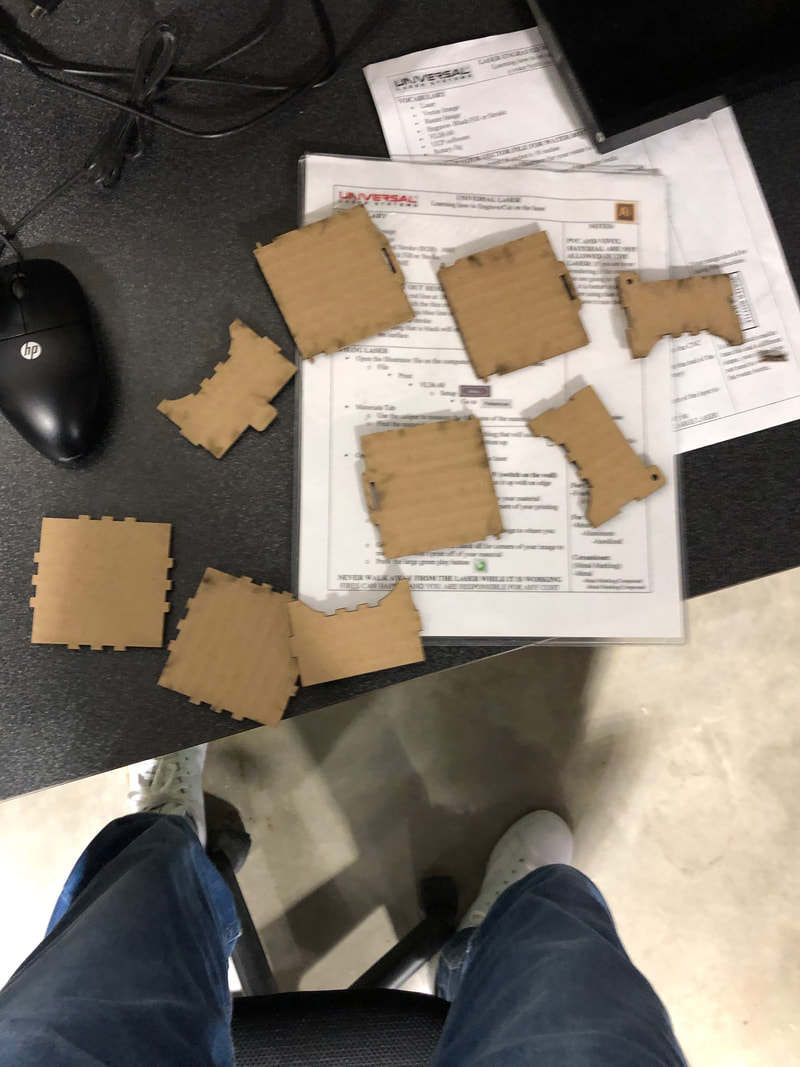
I started by creating my choosing my design of Thingiverse. I chose a jewelry box design because I wear so much jewelry. I then modified the size to fit the dimensions of our piece of cardboard. After that I loaded my file onto the UCP software and hit start. The laser cut out all the parts to my jewelry boxes. Once I had all the pieces I constructed the boxes. I now have a safe place to keep all of my expensive chains and watches.

|
|
|
What I learned:
Through the process of using the laser I learned to be patient. The laser can sometimes take a long time to engrave, but it was all worth it in the ned. I now have three awesome products. I also became much more comfortable using Illustrator and the UCP software.
